You know that feeling after a heavy meal when your stomach feels like it’s staging a protest? Or maybe you’ve noticed your digestion just feels… off lately — bloated, sluggish, or unpredictable. I’ve been there too. And when I started digging into what actually helps, I kept circling back to the same humble, ancient food: fermented cabbage. Learning how to make sauerkraut at home turned out to be one of the simplest, most rewarding shifts I made for my gut health — and I honestly wish someone had told me sooner how easy it really is.
Why Your Gut Might Be Asking for Fermented Foods
Your digestive system is home to trillions of microorganisms — bacteria, fungi, and other microbes that collectively make up your gut microbiome. Research suggests that a diverse, balanced microbiome may support smoother digestion, more comfortable bloating, and even overall wellbeing. The problem? Modern diets, stress, antibiotics, and processed foods can throw that balance off in ways we don’t always notice right away.
That’s where fermented foods like sauerkraut come in. Traditional sauerkraut is made through lacto-fermentation — a natural process where beneficial bacteria (primarily Lactobacillus species) convert the natural sugars in cabbage into lactic acid. The result is a tangy, probiotic-rich food that many people find easier on the digestive system than raw cabbage. Studies have found that naturally fermented sauerkraut can contain millions to billions of live beneficial bacteria per serving, though the exact count varies based on how it’s made and stored.
It’s worth noting that sauerkraut from the grocery store is often pasteurized, which kills most of those beneficial bacteria. That’s one of the biggest reasons making your own at home is worth the minimal effort involved.
How to Make Sauerkraut at Home: A Simple Step-by-Step Guide
I promise this is more forgiving than you think. You don’t need fancy equipment, culinary training, or a big block of time. Here’s what I do:
What You’ll Need
- 1 medium head of green cabbage (about 2 pounds)
- 1 tablespoon of non-iodized salt (kosher or sea salt work great — avoid iodized, as it can inhibit fermentation)
- A wide-mouth mason jar (quart-size is ideal)
- A large mixing bowl
- Clean hands or a wooden spoon
The Process
Step 1 — Shred your cabbage. Remove the outer leaves and set one aside. Shred the rest thinly — a sharp knife or mandoline works well. Aim for pieces roughly the thickness of a quarter.
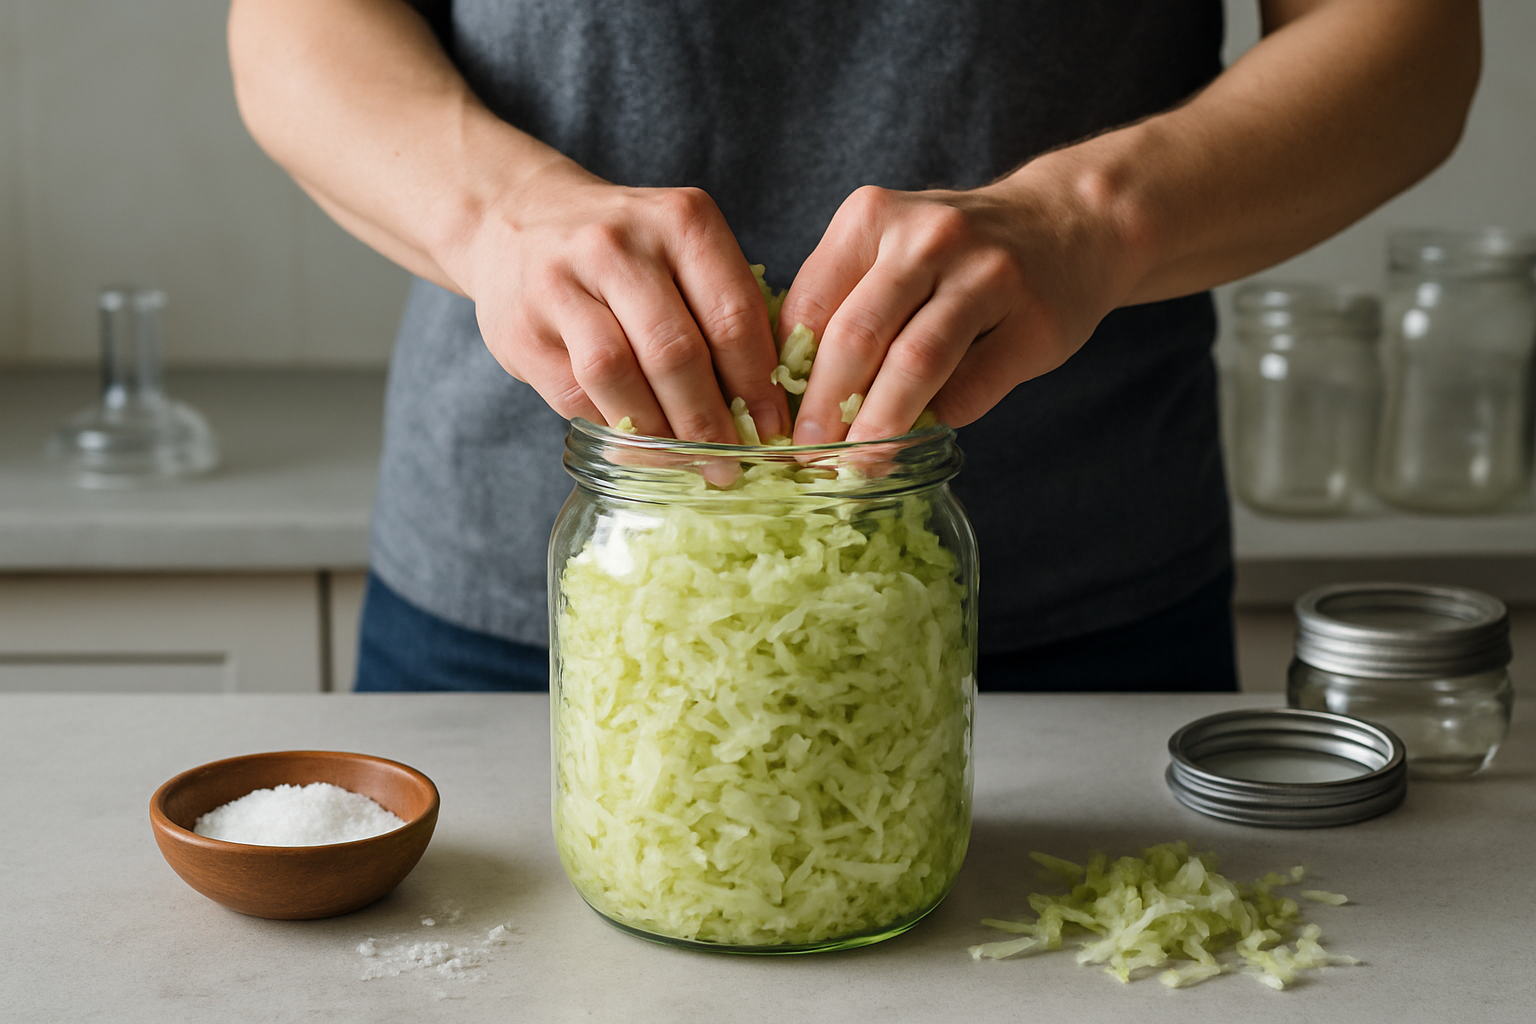
Step 2 — Salt and massage. Add your salt to the shredded cabbage in the mixing bowl. Now get in there with your hands and squeeze, press, and massage the cabbage for about 5–10 minutes. You’ll see liquid start to release — that’s your natural brine. This step is key.
Step 3 — Pack the jar tightly. Press the cabbage firmly into your mason jar in layers, pushing it down so the brine rises above the cabbage. The cabbage must stay submerged under the brine throughout the fermentation process to prevent unwanted mold. This is where fermentation weights really earn their place.
Step 4 — Weigh it down and cover it. Tuck that reserved cabbage leaf over the top, then use a glass weight to keep everything below the brine. Cover loosely — you want gas to escape but not too much air getting in.
Step 5 — Ferment at room temperature. Leave your jar on the counter, away from direct sunlight, for 1–4 weeks. Taste it starting around day 5 or 7. The longer it ferments, the tangier it gets. Once you love the flavor, move it to the fridge to slow fermentation and store it.
The Right Tools Make It Even Easier
You can absolutely make sauerkraut with just a jar and a zip-lock bag filled with brine as a weight — I did it that way at first. But once I invested in a few simple tools, the process became nearly foolproof and a lot less stressful. Here are my honest recommendations:
Fermentation Weights
Keeping your cabbage submerged is the single most important step to safe, successful fermentation. These glass weights are designed to fit perfectly inside wide-mouth mason jars and eliminate the guesswork.
- 4-Pack Fermentation Glass Weights with Easy Grip Handle — A reliable, popular set that fits wide-mouth mason jars perfectly. The easy-grip handle makes lifting them out of brine effortless.
- Eleganttime 4 Pack Easy Grip Handle Glass Fermentation Weights — Another solid option from a well-reviewed brand, great for anyone doing multiple batches at once.
- MFacoy 4-Pack Fermentation Glass Weights — Dishwasher Safe — I especially appreciate that these are dishwasher safe. Less cleanup fuss means I actually use them consistently.
Airlock Lids
Airlock lids let the carbon dioxide produced during fermentation escape without letting outside air — and potential contaminants — back in. Many people find these reduce surface mold and make the process feel more hands-off. Two options I feel good recommending:
- Fermentation Lids 6-Set with Stainless Steel Lids, Silicone Grommets, and Airlocks — A complete kit that works with wide-mouth jars you likely already own.
The One Piece of Equipment That Actually Makes Home Fermentation Stick
The biggest reason people abandon fermentation isn’t that it doesn’t work — it’s that the setup feels fussy. Airlocks that don’t seal properly, lids that won’t fit your jars, weights that keep floating up. A proper fermentation lid system removes that friction entirely, so you can actually keep this habit going long enough to notice the difference.
What works
- The silicone grommet airlocks create a genuine anaerobic environment, which means the Lactobacillus actually thrives and you get a genuinely live ferment — not a mushy, mouldy jar that discourages you from trying again.
- Works with jars you already own (wide-mouth Mason jars), so there’s no “I need to buy special equipment” excuse — just slot the stainless steel lid on and you’re done.
- The 6-pack means you can have several ferments going at once, which is how you actually build the habit — one jar feels like a novelty; three jars feels like you’re actually doing this.
What doesn’t
- You still need glass weights to keep the cabbage submerged (oxygen exposure kills the ferment and encourages mould) — this lid system handles the airlock part, but you’re investing in the full setup, not just this one piece.
- Fermentation takes time — expect 5 to 10 days minimum, and you won’t see major digestive shifts for at least 2 to 3 weeks of consistent consumption, so this isn’t a quick fix for acute bloating or IBS flares.
If you have active gastritis, severe reflux, or histamine sensitivities, fermented foods may aggravate symptoms — worth a chat with your GP before you commit. But for most people looking to build a reliable, sustainable fermentation habit, this system actually works. Fermentation Lids 6-Set with Stainless Steel Lids, Silicone Grommets, and Airlocks
This post contains affiliate links. As an Amazon Associate, I earn from qualifying purchases at no extra cost to you.
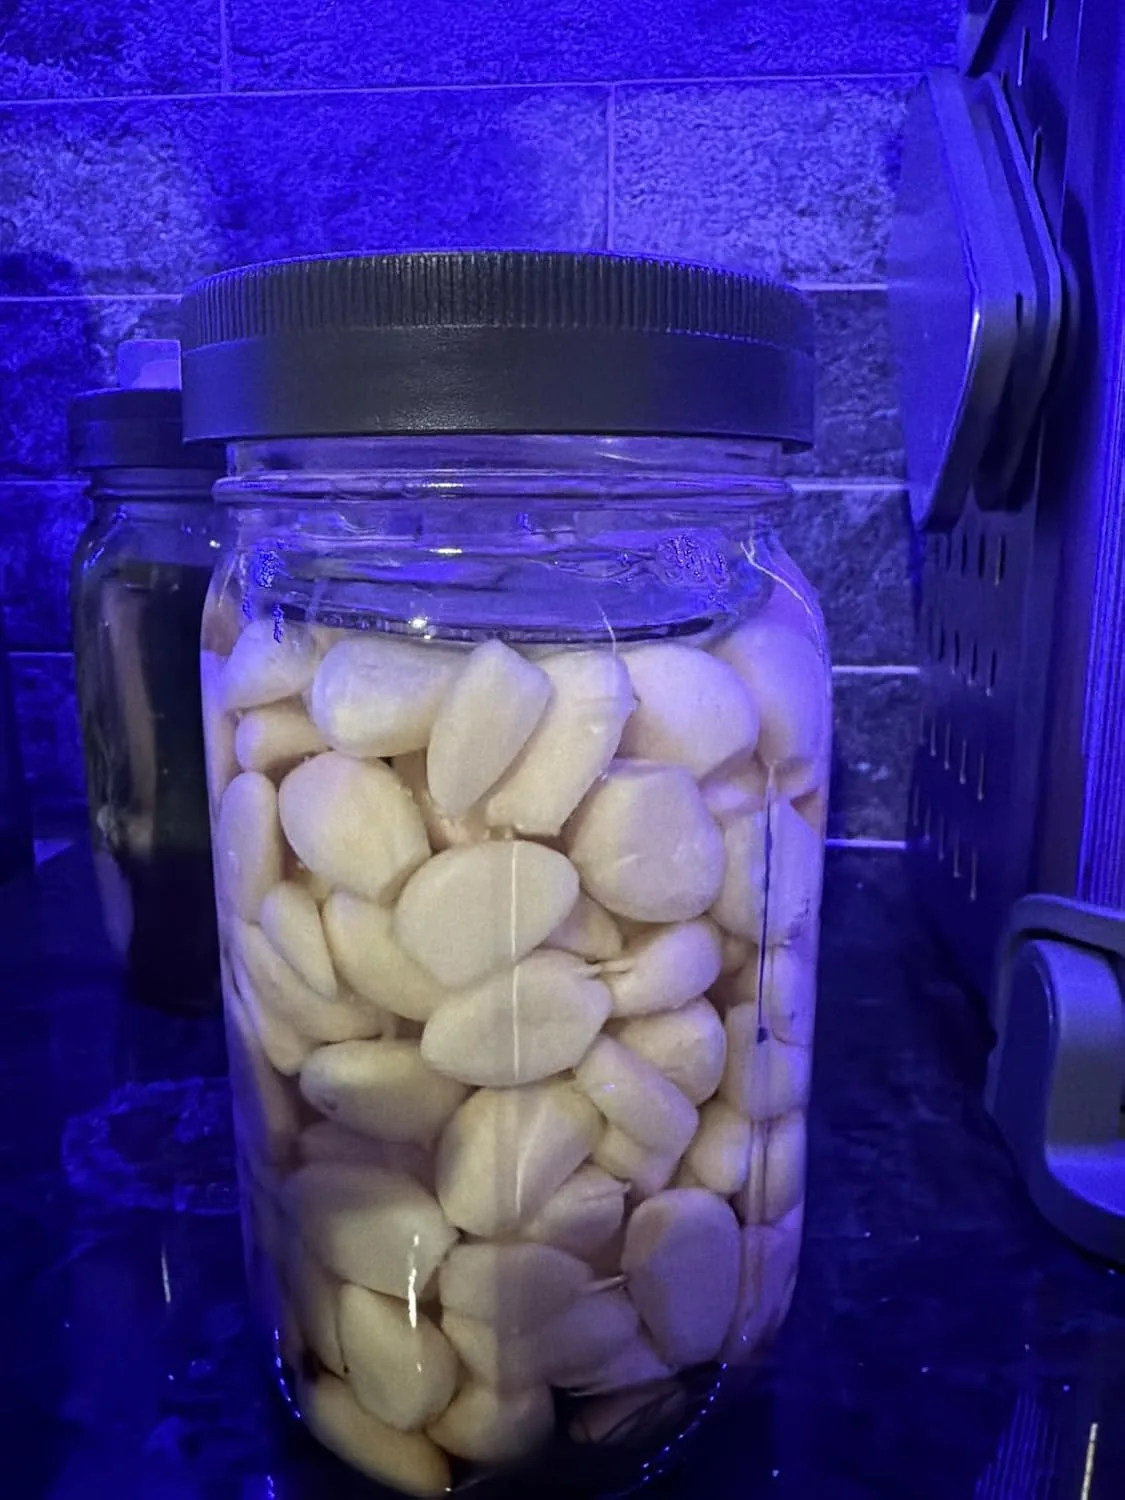
The airlock lid made it so easy to see fermentation happening without opening the jar. 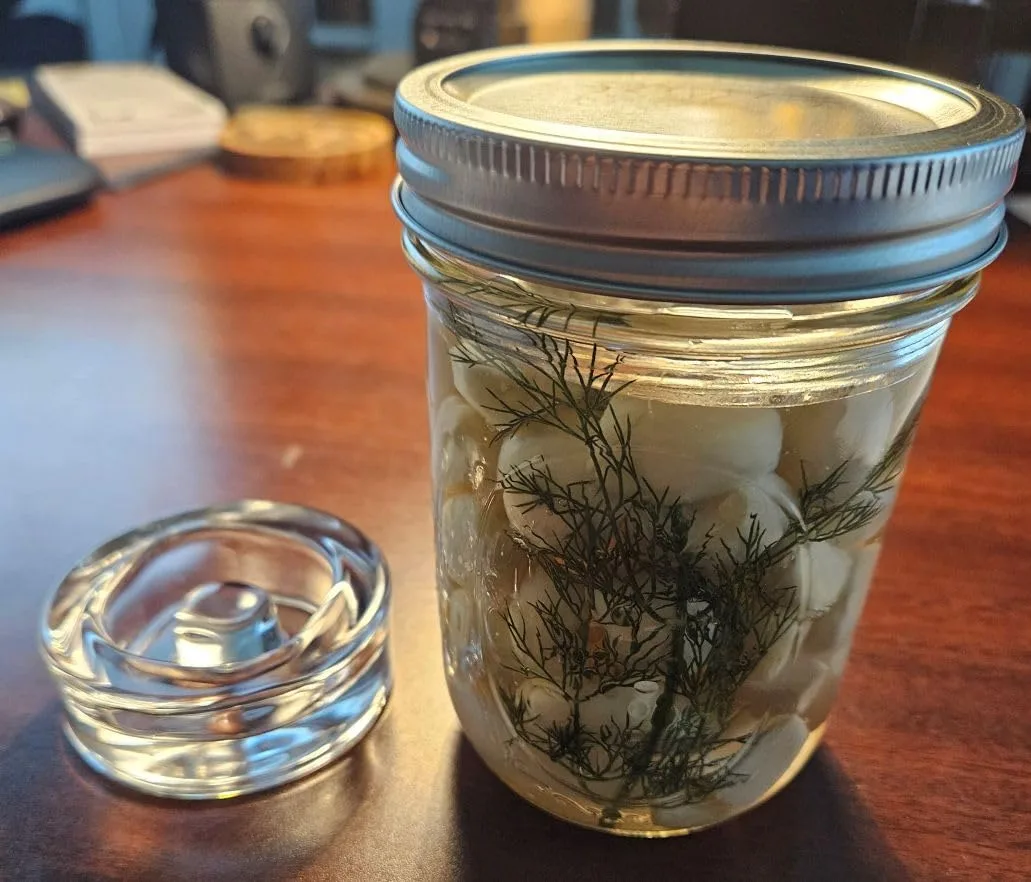
Perfect for fermenting—the jar sealed up nicely on day 2. 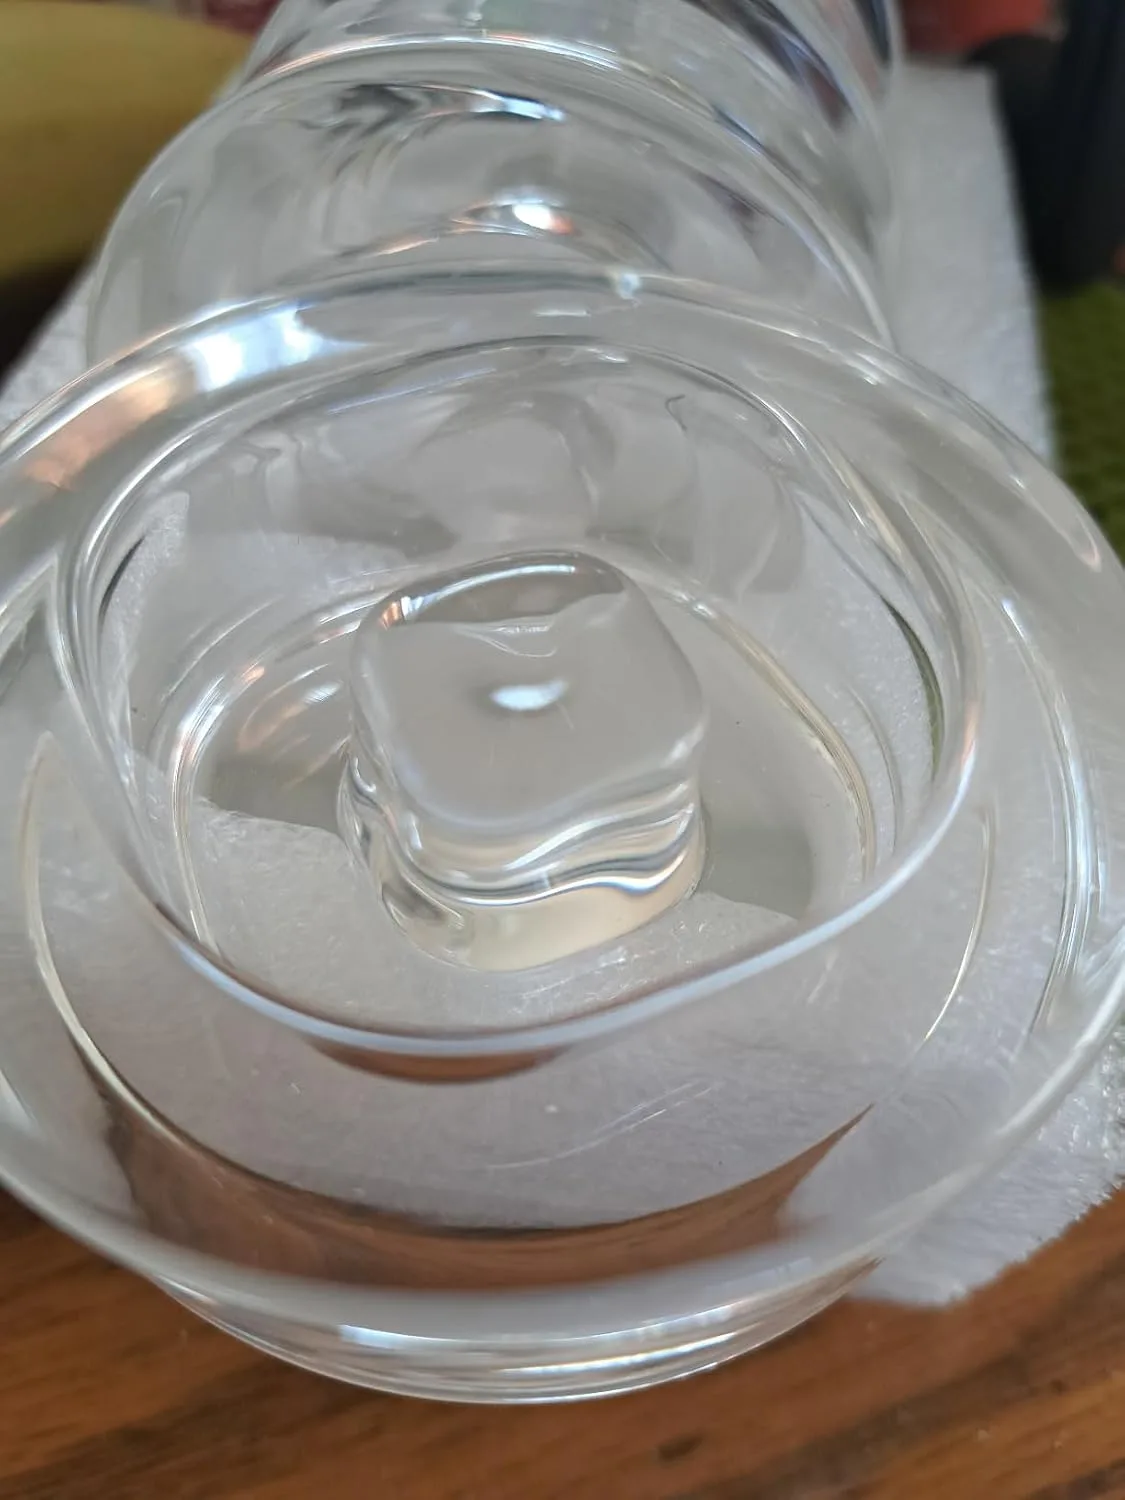
The airlock design made it so easy to check my sauerkraut without letting in bad bacteria. 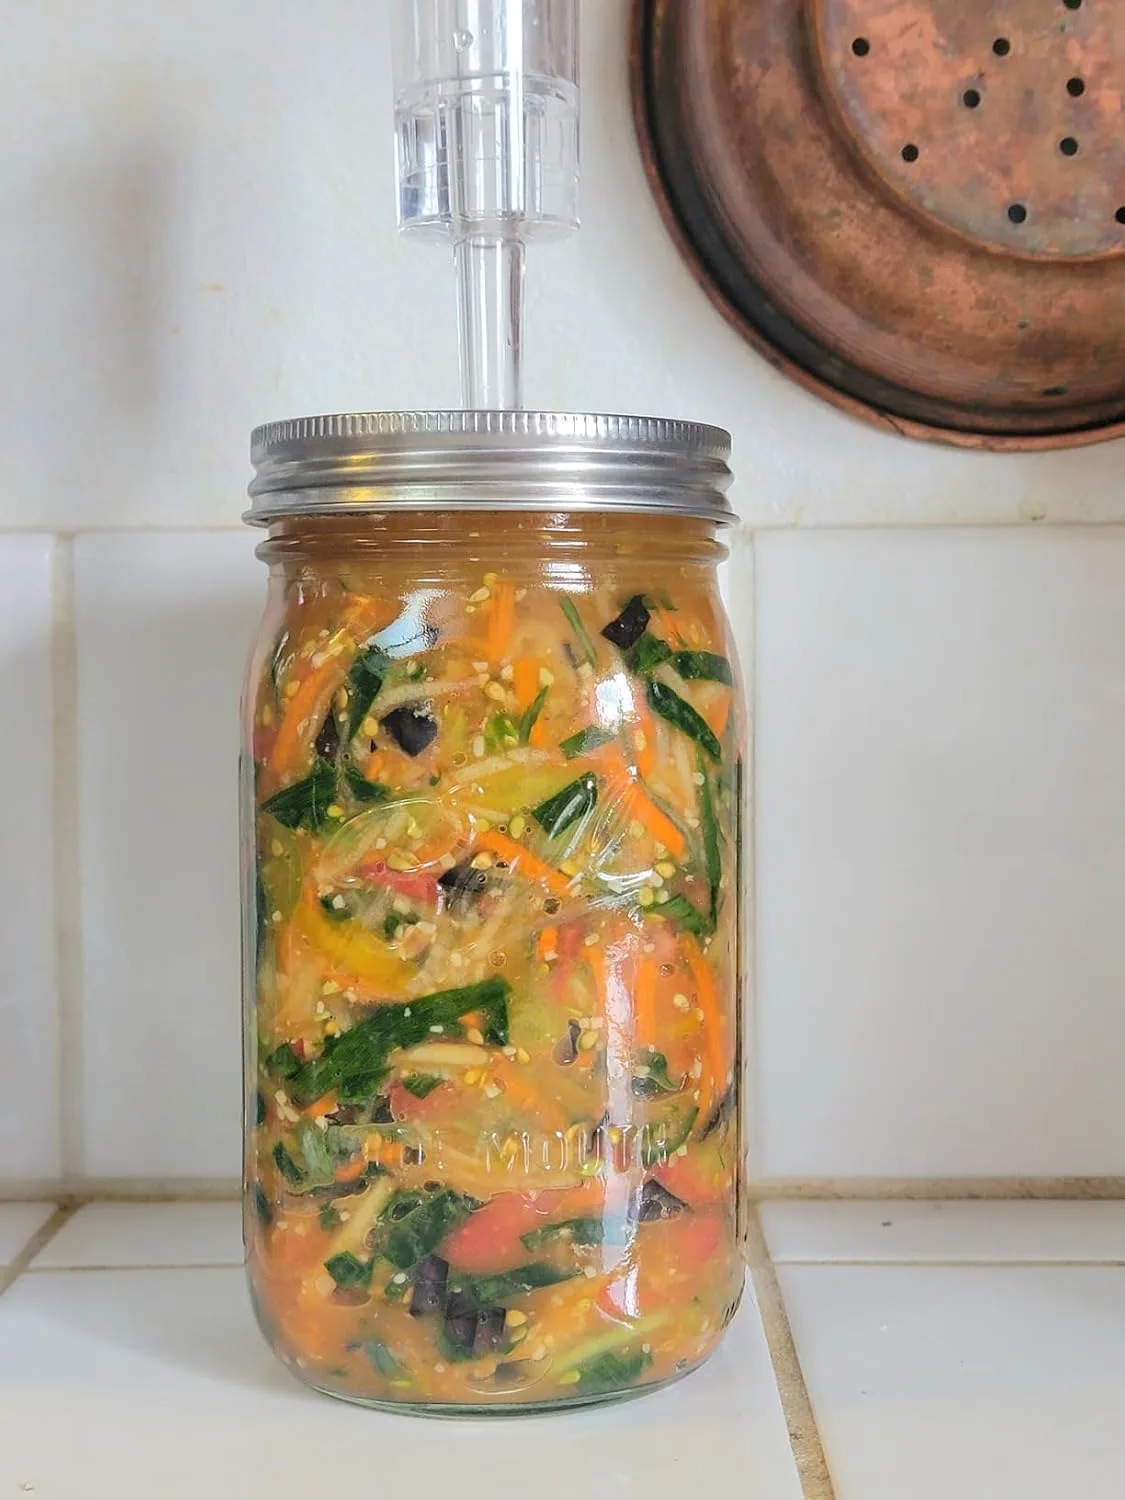
The airlock lid made such a difference—no more worrying about mold or burping jars constantly. 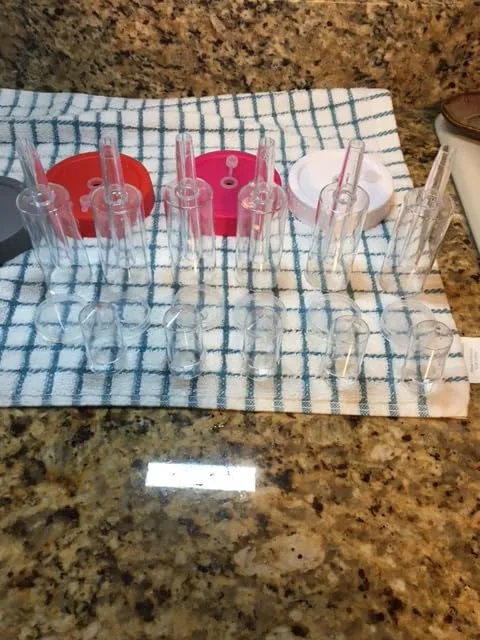
The airlock design keeps oxygen out while letting gas escape—no daily burping required. 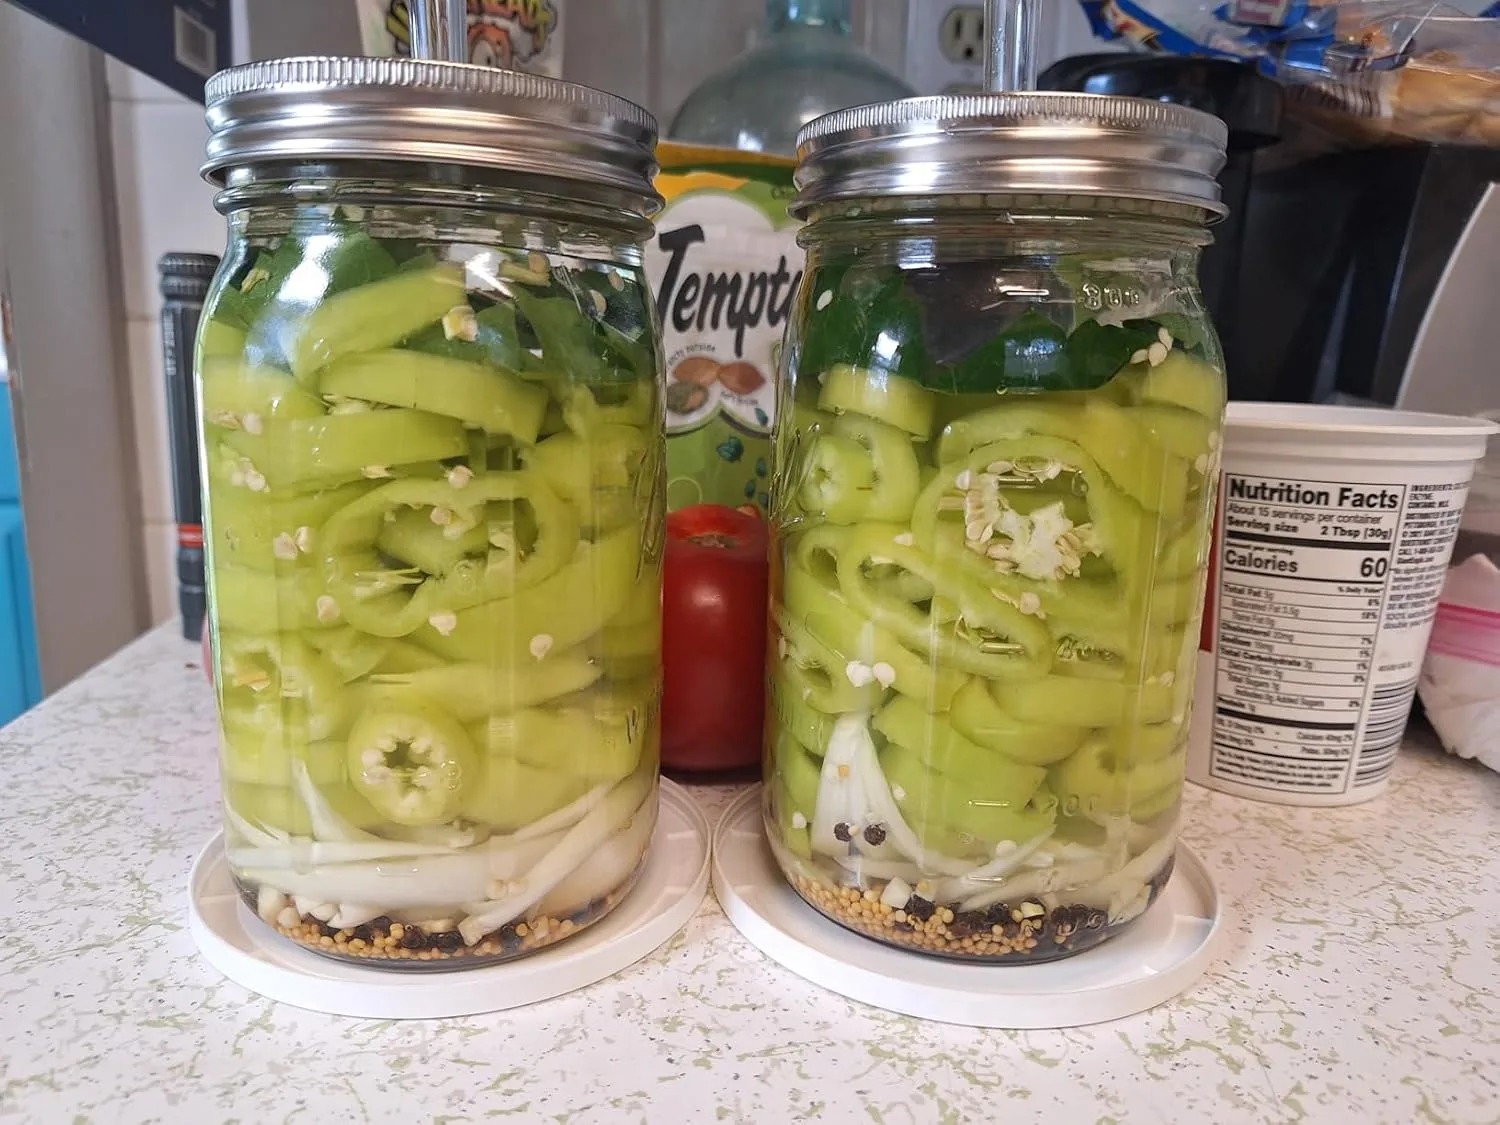
My sauerkraut after 2 weeks — perfect tangy flavor and crunch! ![Customer photo of [specific item visible in photo - e.g., glass jar with fermenting vegetables]](https://digestionfaq.com/wp-content/uploads/2026/07/B098WLW7RW-1.webp)
This arrived in perfect condition — ready to ferment! 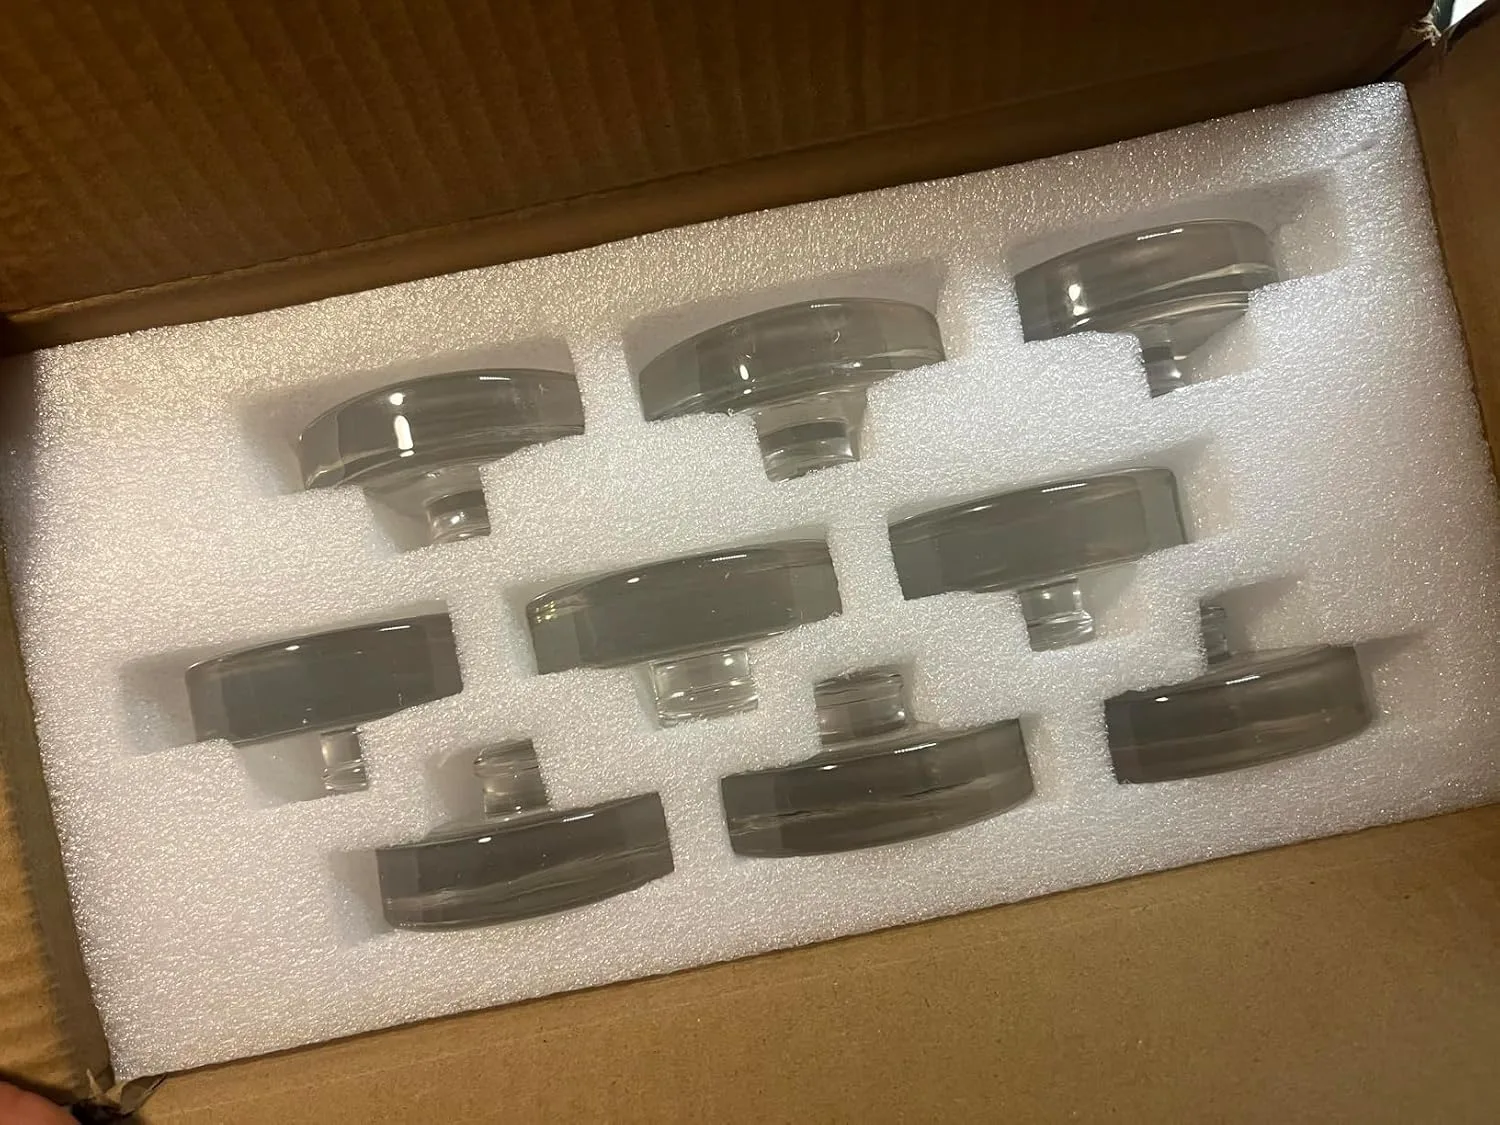
The wide mouth made it so much easier to pack cabbage down without struggling. 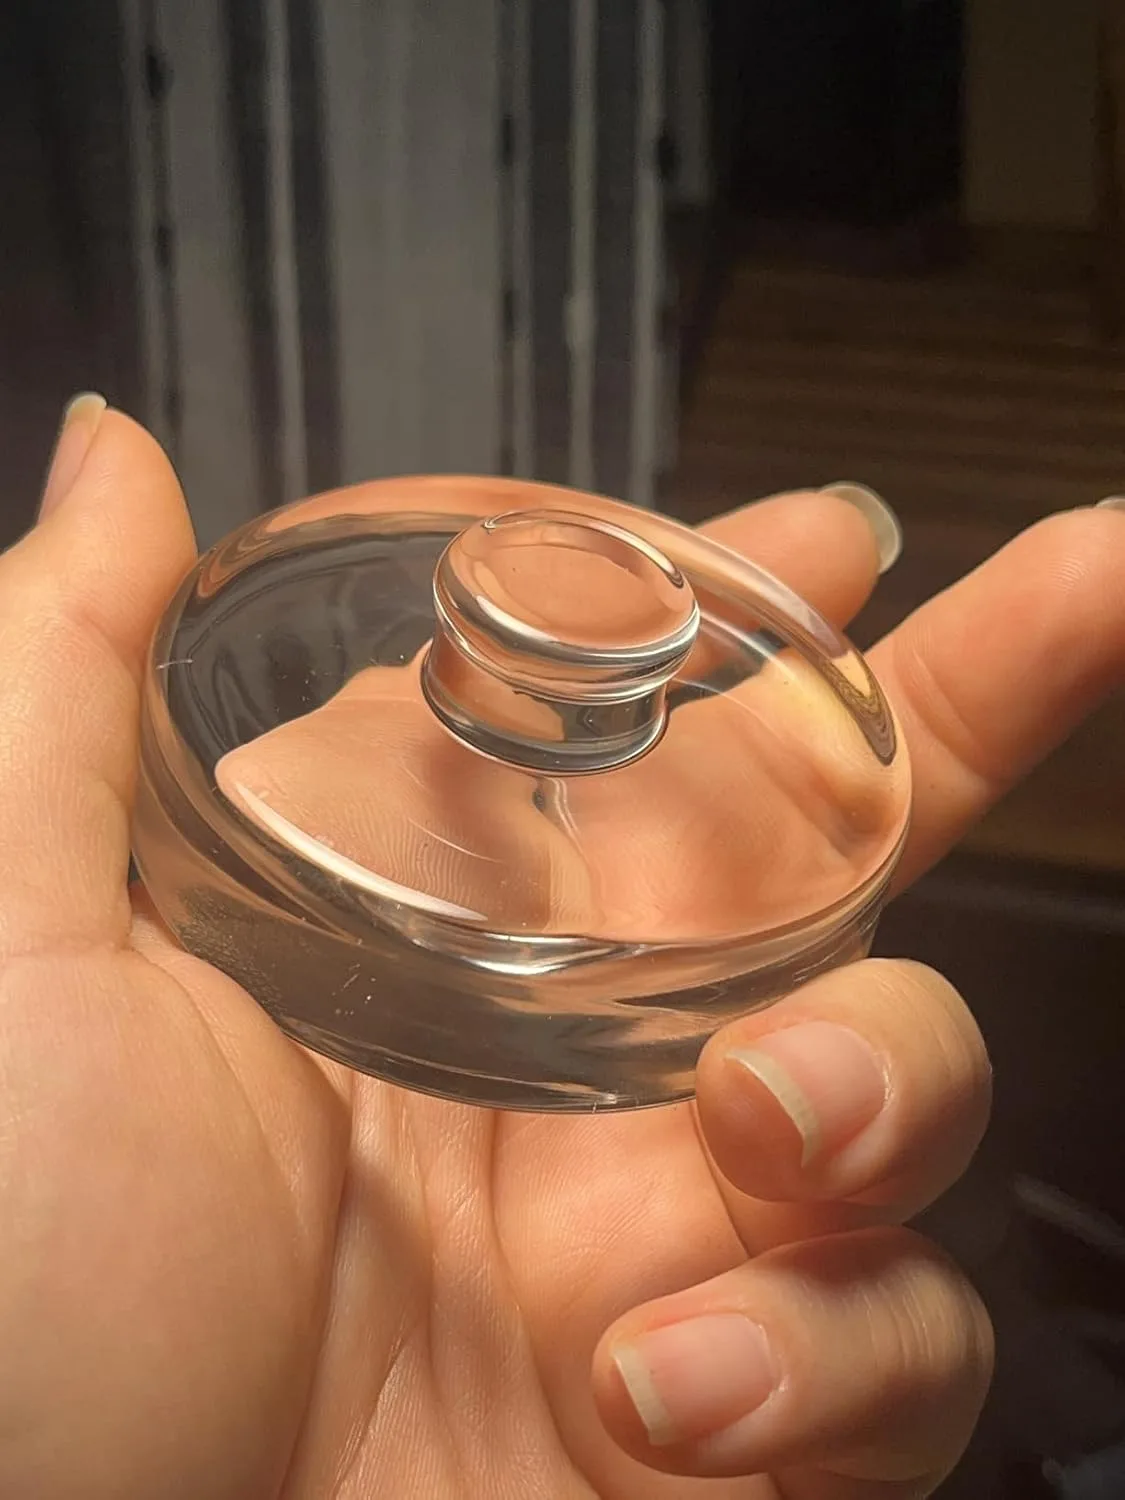
The airlock design kept my cabbage perfectly submerged without any messy overflow. 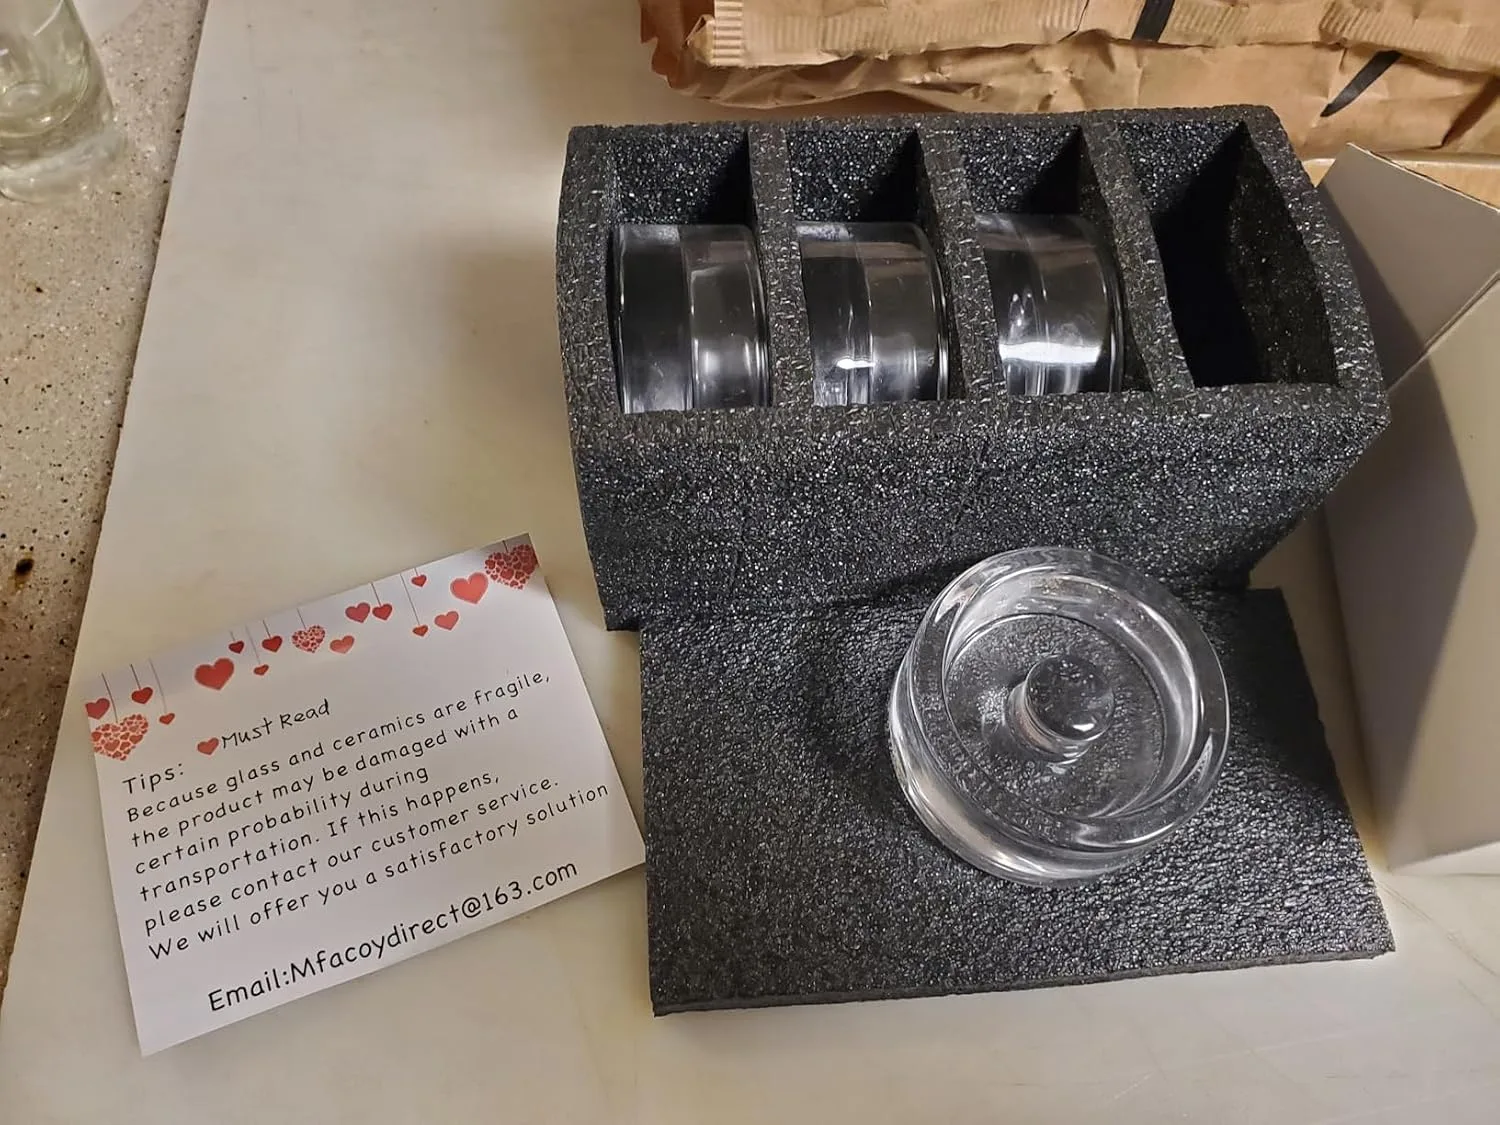
The airlock lid made such a difference—no more worried checking if my batch was molding. 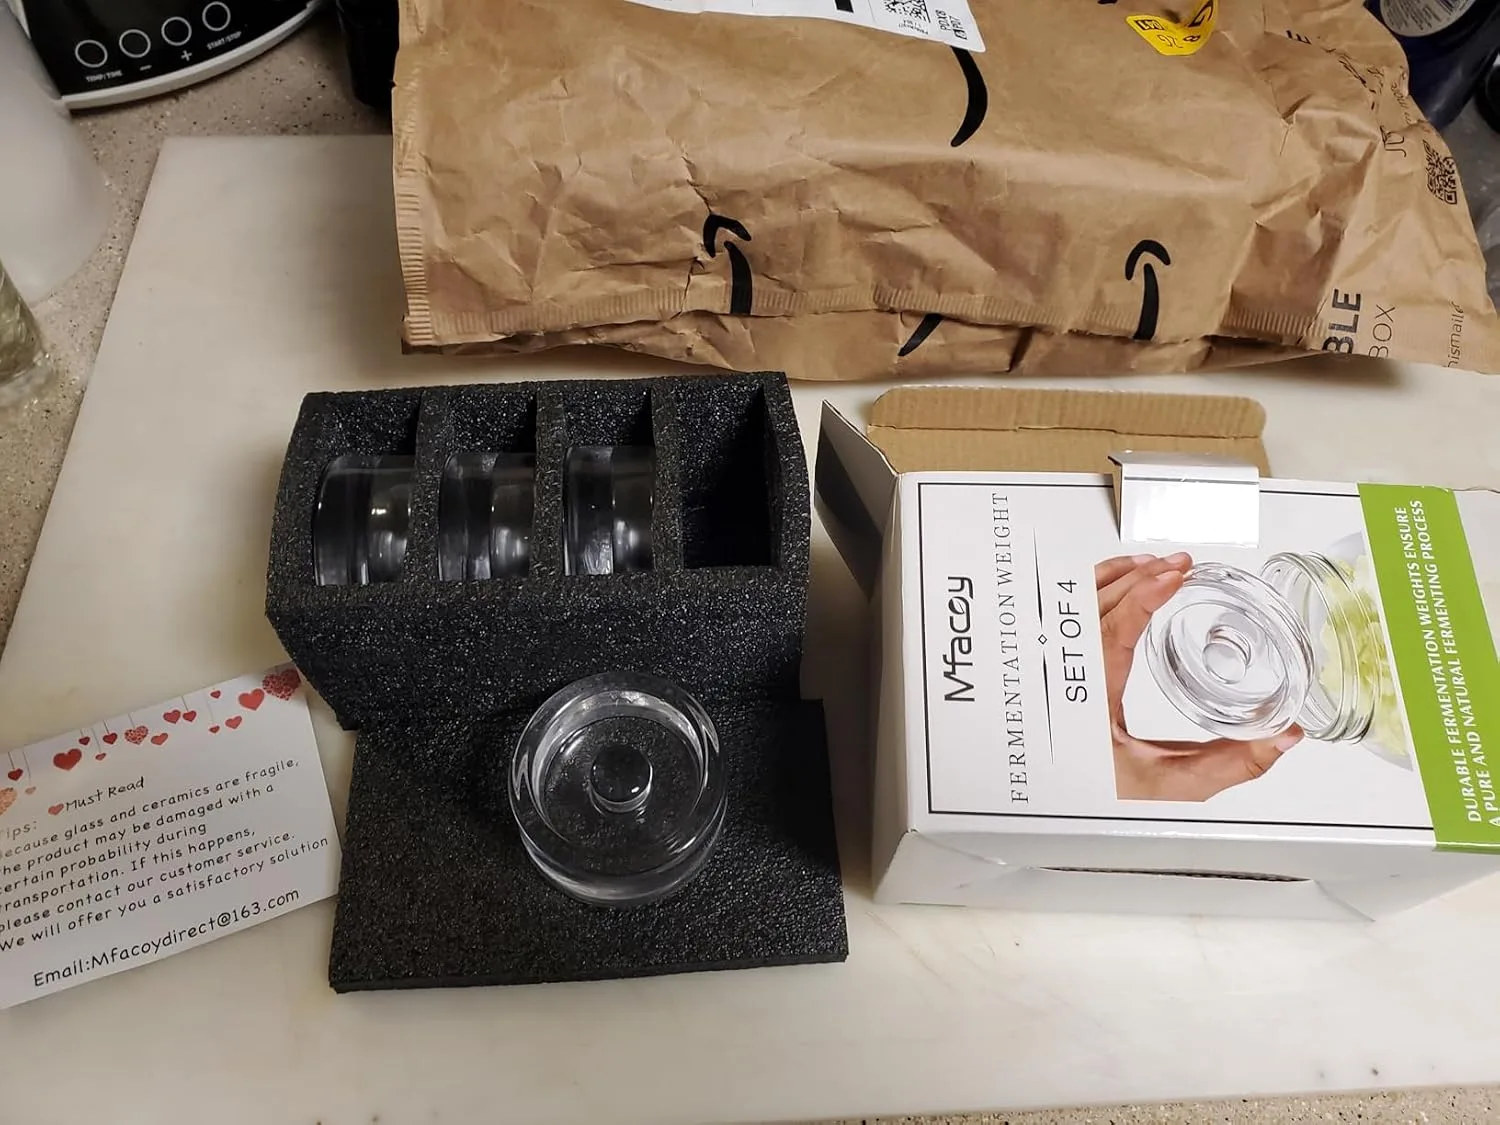
The airlock design kept everything sealed without needing to burp the jar daily. 
My sauerkraut after 2 weeks — tangy, crispy, and so worth it!