I am a qualified nutritionist, not a gastroenterologist. The experiences shared here are personal and clinical observations. Always consult your doctor before starting any new supplement or dietary change, especially if you take medication or have a diagnosed digestive condition.
The One Tool That Actually Keeps Ferments Submerged and Mould-Free
If you’ve ever lost a whole jar of fermented vegetables to white fuzzy mould creeping across the surface, you know how demoralizing it is. The culprit isn’t usually contamination—it’s vegetables that float above the brine line. Glass weights solve this completely, and paired with an airlock lid, they’re the difference between a reliable probiotic-rich food and compost.
For years, I recommended fermentation to clients interested in improving their gut health and digestive resilience. Fermented vegetables—kimchi, sauerkraut, pickled cucumber, mixed vegetable medleys—are inexpensive to make at home and, when done correctly, contain live cultures that many people find helpful for digestion. But I quickly noticed a pattern: about 40% of clients who attempted home fermentation gave up after their first or second batch developed surface mould. They weren’t doing anything wrong. The problem was their method.
Why Vegetables Float (And Why That’s a Problem)
Vegetables are mostly water and air. Cabbage, carrots, and cucumber naturally want to float. When they rise above the brine—even partially—they’re exposed to oxygen and airborne mould spores. Salt brine is an excellent preservative and fermentation medium, but it only works if vegetables stay fully submerged. The moment any piece pokes above the surface, mould can colonize it. Within days, white or greenish fuzzy growth spreads through your entire jar, and the whole batch is unsafe to eat.
Improvised solutions—placing a smaller jar on top of the vegetables, weighing them down with a ceramic plate, even using a cabbage leaf to hold them under—work inconsistently. Smaller jars can slip sideways. Plates absorb liquid and can harbour bacteria in their porous edges. Cabbage leaves disintegrate or shift. I watched client after client become discouraged and stop fermenting altogether, even though the method itself was sound.
What Glass Fermentation Weights Do
What works
- Keeps vegetables fully submerged throughout the fermentation process, eliminating the surface exposure that allows mould spores to establish.
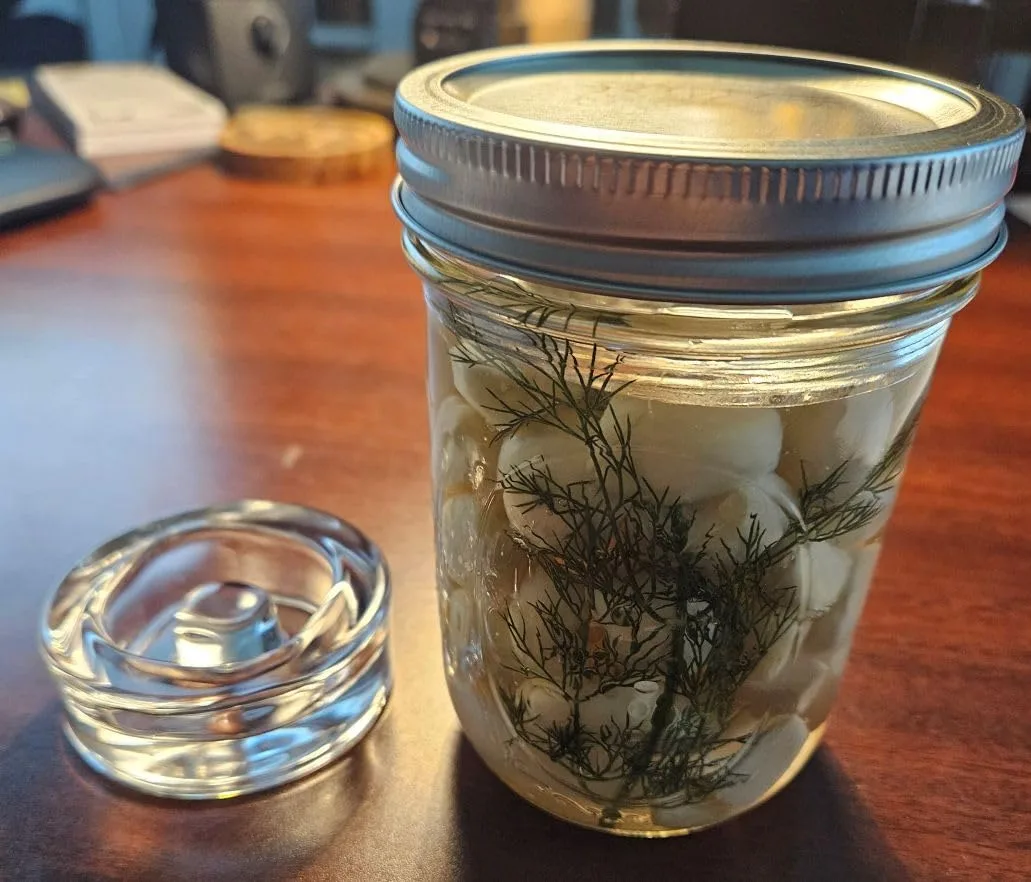
- Unlike improvised weights (small jars, rocks, plates), glass weights are non-porous, won’t leach anything into your brine, and are genuinely foolproof to use—most clients report zero failures after switching from the “whatever I can find” method.
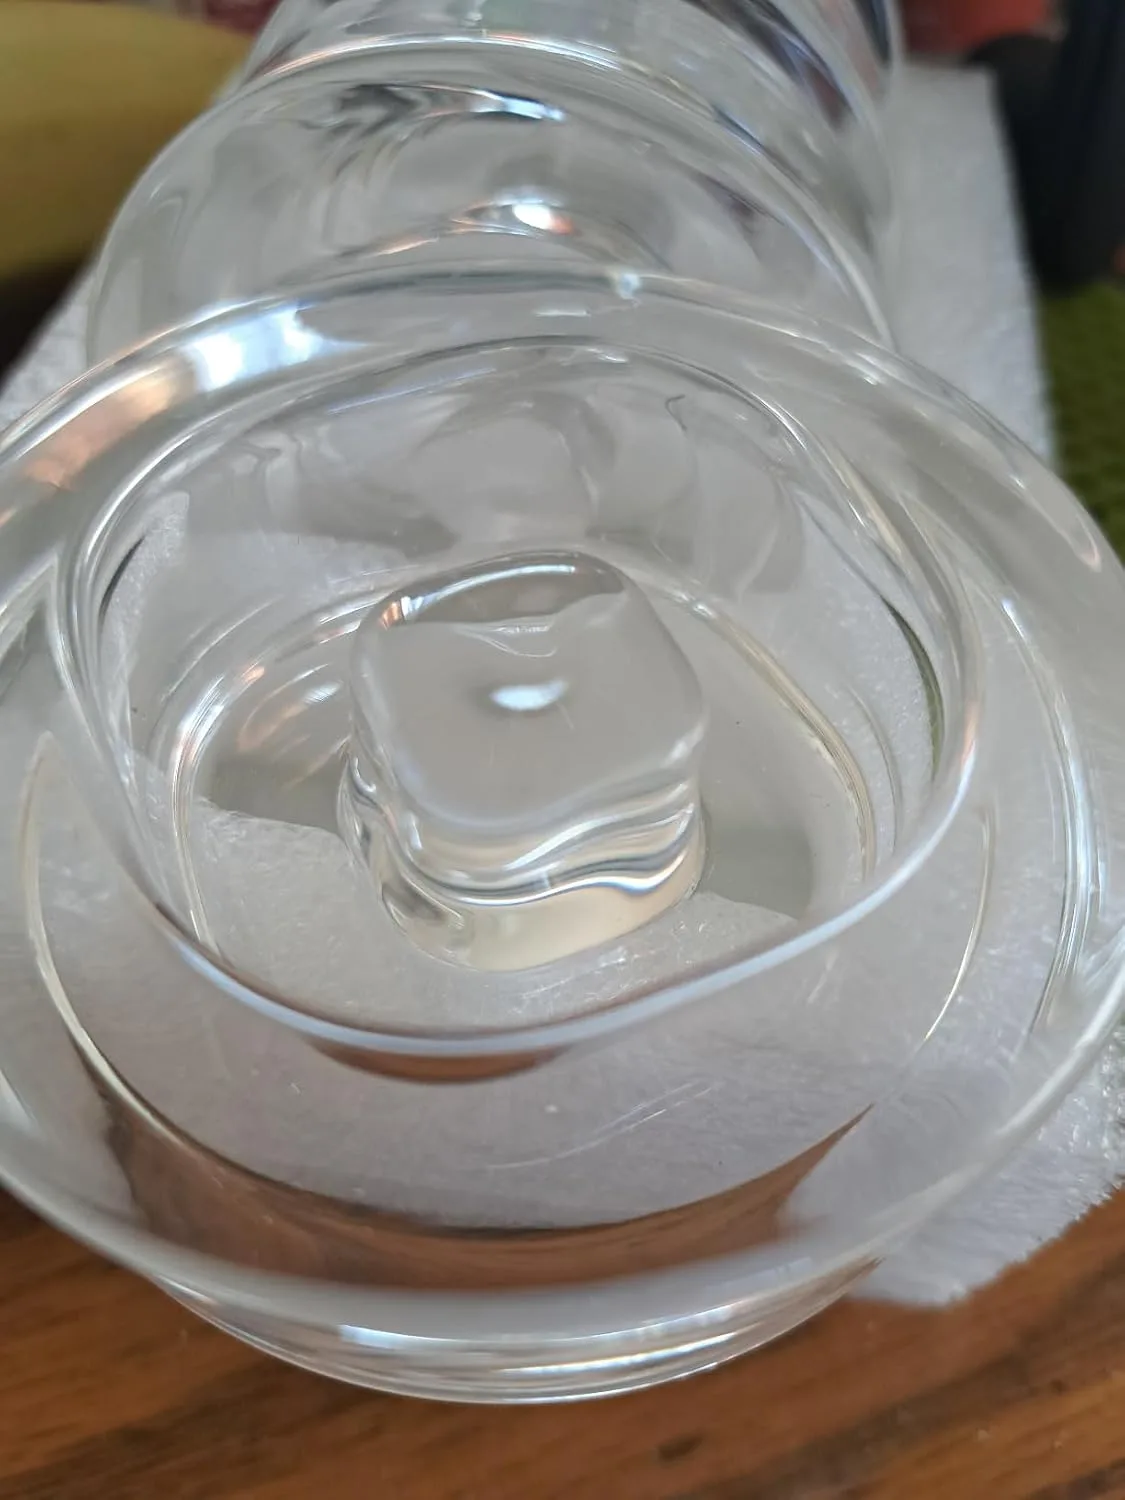
- The easy-grip handle design means you’re not fishing around in brine with your fingers, which reduces the risk of introducing unwanted bacteria and makes the whole process feel less fidgety.
- Glass weights work with any jar size, from narrow-mouth to wide-mouth mason jars. You’re not locked into one specific vessel.
- They’re reusable indefinitely—wash them between batches and they’re ready to go again. No ongoing cost, no waste.
What doesn’t
- These weights won’t ferment your vegetables faster or improve the nutritional content—fermentation time and salt ratio matter far more. Expect the same timeline (3–10 days depending on temperature and vegetables) as any other method.
- If your kitchen is genuinely warm (above 75°F consistently) or you’re fermenting in direct sunlight, weights alone won’t prevent mould; you’ll still need good airflow and an airlock lid to manage gas buildup and oxygen exposure.
- Weights are only half the solution. You still need the right brine concentration (typically 2–3% salt by weight of vegetables) and a clean jar. Skip those basics and even the best weights won’t save your batch.
Pairing Weights with Airlock Lids
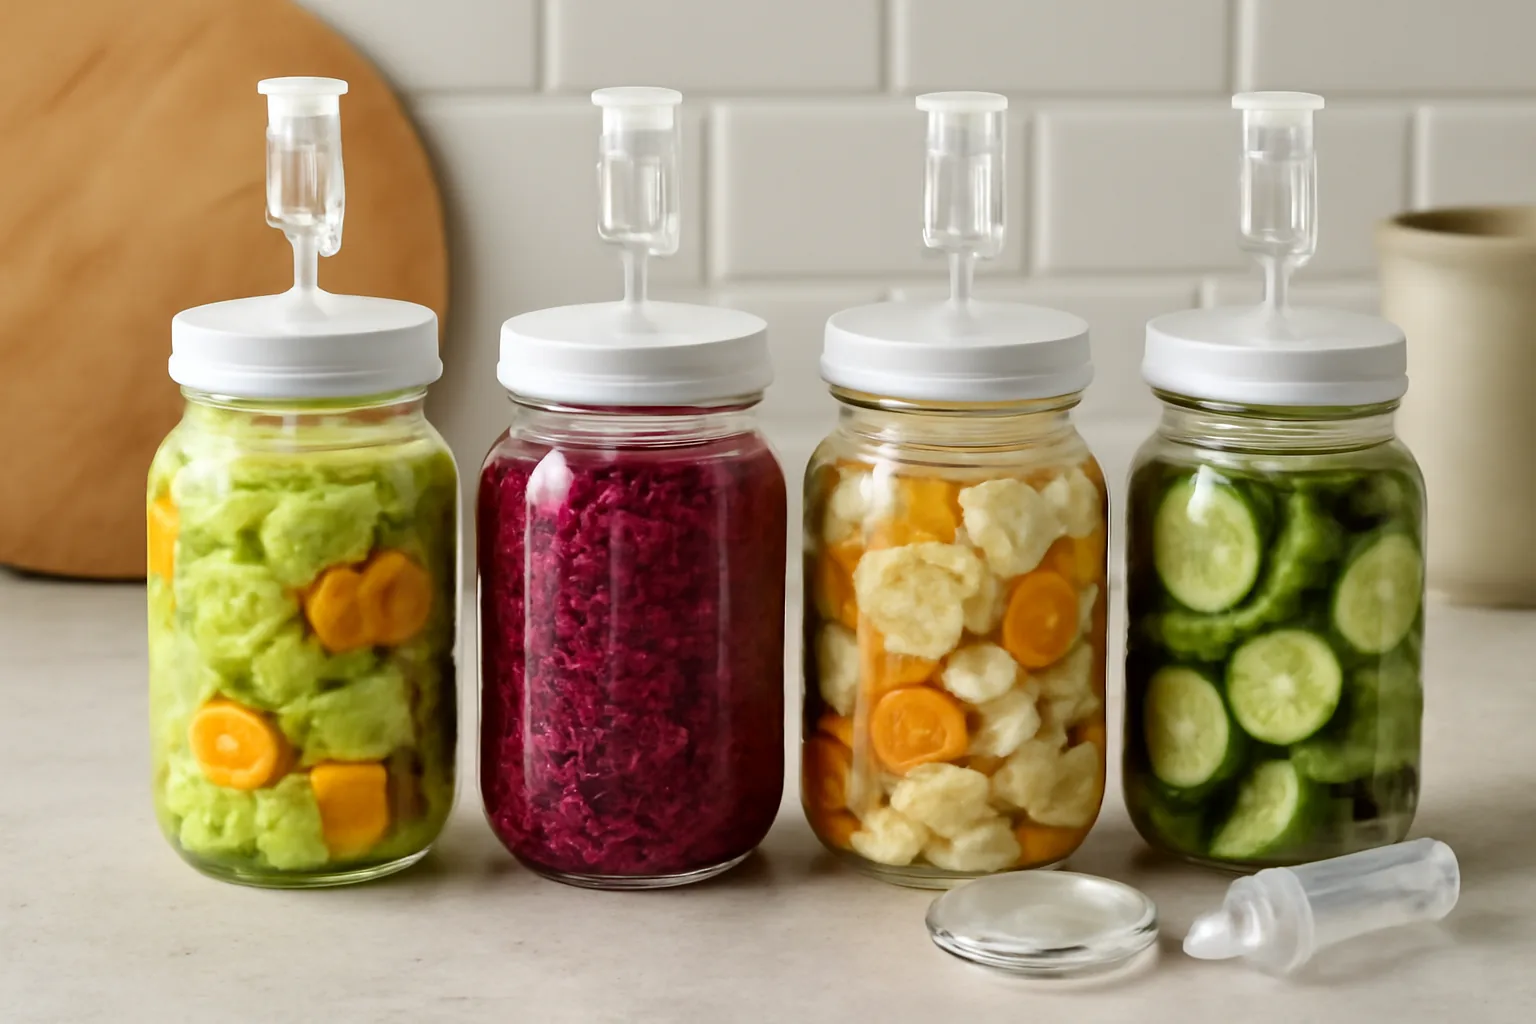
This is where the real magic happens. An airlock lid—sometimes called a fermentation lid—allows carbon dioxide produced by beneficial bacteria to escape without letting oxygen and mould spores back in. When you combine an airlock lid with submerged vegetables held down by glass weights, you’ve created an environment where fermentation happens cleanly and reliably.
I started recommending this combination to clients, and the difference was immediate. The clients who had abandoned fermentation after one or two failed batches suddenly had success. Jars that would have developed mould in five days now fermented safely for weeks. The process felt less risky, less finicky, less like a kitchen experiment and more like a reproducible routine.
The Practical Steps
Here’s how to use weights correctly:
- Prep your vegetables: Chop, shred, or keep them whole as your recipe dictates. Pack them tightly into your jar.
- Make your brine: Dissolve salt in filtered or boiled water (let it cool first). Pour over vegetables until they’re completely covered—at least one inch of brine above the top vegetable.
- Place the weight: Lower the glass weight into the jar so it rests on top of the vegetables. The handle gives you grip; you’re not struggling with a slippery object.
- Fit the airlock lid: Screw or snap it onto the jar, depending on your model. Fill the airlock chamber with water if required by the design.
- Ferment in a cool spot: Aim for 60–75°F if possible. Keep the jar out of direct sunlight.
- Check daily: Look for bubbles in the airlock (a sign fermentation is underway) and make sure the weight is still doing its job. You shouldn’t see any vegetables poking above the brine.
- Taste and transfer: After 3–10 days, taste a small piece. When it reaches your preferred level of tang, remove the weight and airlock lid, and refrigerate or transfer to a smaller storage jar.
Why This Matters for Digestive Health
Fermented vegetables are valued by many people interested in gut wellness because they contain live cultures and are easier to digest than raw or cooked vegetables. But you only get those benefits if your fermentation succeeds. Failed batches—ones that have been colonized by mould—are not just disappointing; they’re unsafe. Switching to a reliable method removes a major barrier to making fermentation a regular part of your diet and your home routine.
Fermentation weights are a practical tool that solves a real problem, but they’re not a shortcut—you’ll still need clean jars, proper salt ratios, and patience. 4-Pack of Fermentation Glass Weights with Easy Grip Handle for Wide Mouth Mason Jars are the ones I’ve recommended most often and the ones my clients have had the best luck with.
This post contains affiliate links. As an Amazon Associate, I earn from qualifying purchases at no extra cost to you.